
Its my 1st Bloggerversary!
I can't believe it's been a year since I decided to dive into the blogging community. I love being able to share what I have been working on with you and I LOVE the feed back. I just want to say thank you for reading my ramblings and leaving such wonderful comments, they make my day!
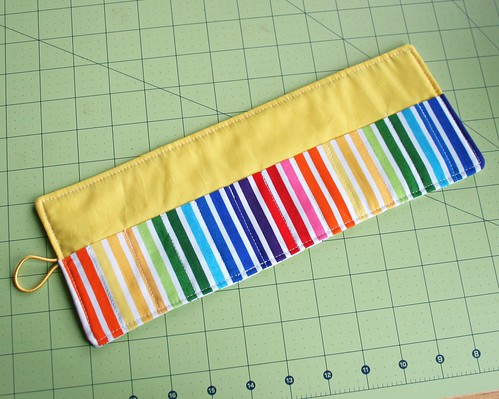
So as a small thank you I am giving you a tutorial. I love making these little crayon rolls. They are great for sticking in your purse or the diaper bag and pulling out whenever the kids need a little distraction: in the car, a waiting room, a restaurant, etc. They also make wonderful gifts or party favors!
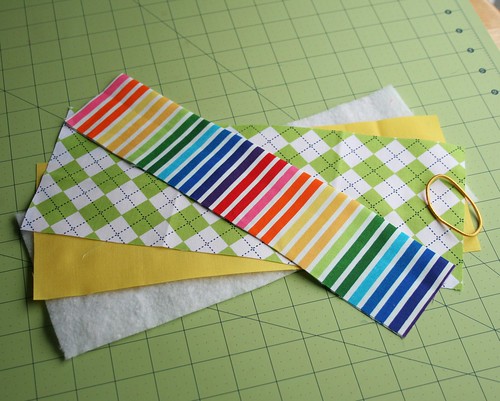
What you will need:
1 outer piece - 12.5 x 5 inches
1 inner piece - 12.5 x 5 inches
1 pocket piece - 12.5 x 5.5 inches
1 piece of batting - 12.5 x 5 inches
1 hair tie
matching thread
Start by folding the pocket piece (shown in the stripe fabric) long ways like a hot dog bun and press.
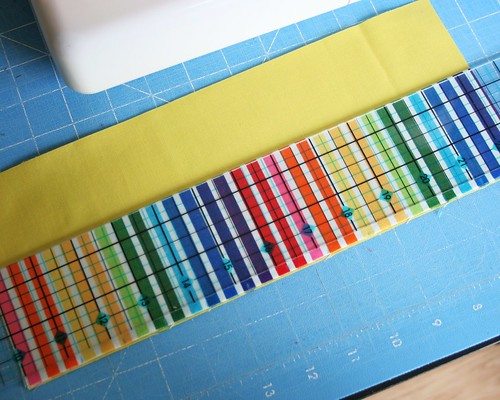
Using a water soluble pencil mark the center of the long edge of the pocket piece on both top (the folded edge) and bottom (where the raw edges meet). Then place a mark every inch from the center to the edge on each side of the center mark. Only make five marks on each side for a total of eleven marks. This will leave you with 1 1/4 inches from the last mark to the edge. Do this along the top and bottom edge.
Once you have all marks made you are going to pin the pocket piece to the lining piece. Line up the raw edges of the pocket piece with the bottom edge of the lining piece and pin well so it doesn't shift.
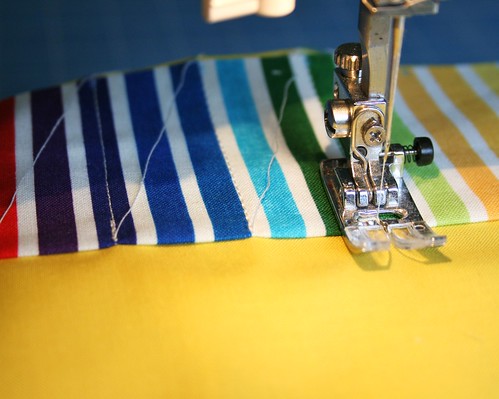
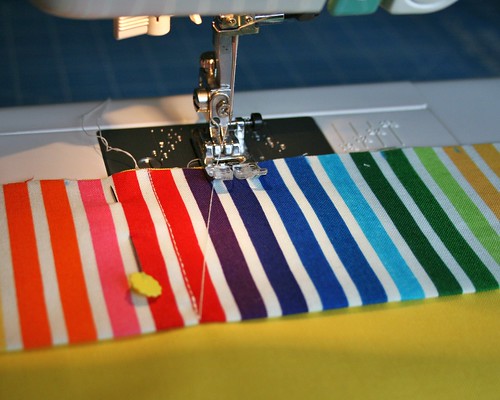
Starting along the bottom, sew from the bottom edge mark up to the matching top edge mark back stitching a bit at the top making sure to go to the edge, but not over. This forms the little pockets for the crayons.

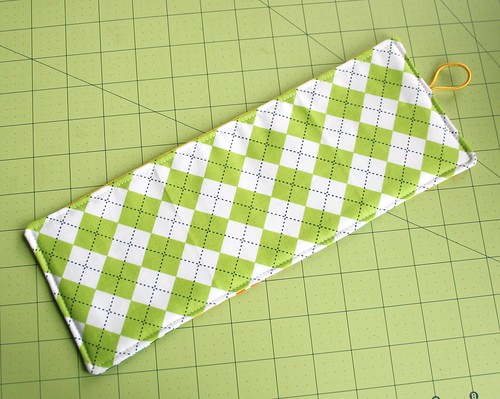
Continue until all of the marks have been connected, 11 total. It should look like this (the above photo). Now the lining is finished and you can set it aside.
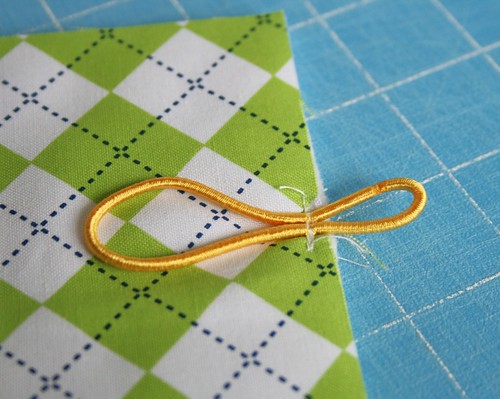
Take your outer piece and place the batting on the wrong side lining up the edges. Attach the hair tie to one of the shorter edges (I like to place mine on the right edge when I am looking at it) leaving the majority, about 2/3 to 3/4, of the hair tie on the fabric with the shorter portion hanging off the edge. Using an 1/8 inch allowance sew the hair tie on back stitching 3 or 4 times making sure it is nice and secure.
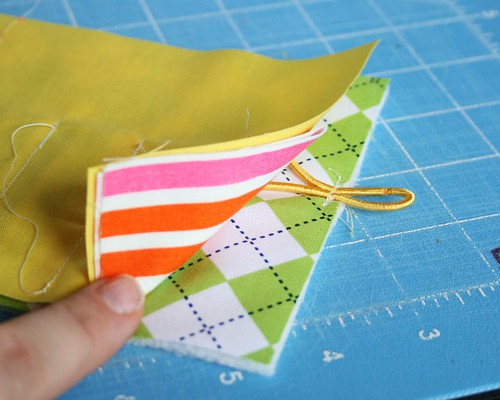
Now place you inner and outer sections right sides together.

Pin the layers together making sure nothing will shift.
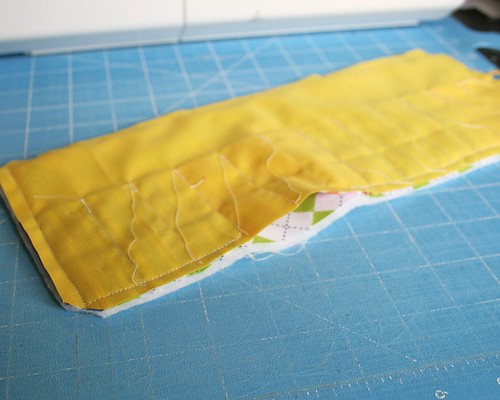
Staring along the bottom sew around the edges leaving a small opening for turning. Be sure to back stitch at the beginning and end. Clip the corners and turn, making sure to push out the corners.
Once turned, top stitch about an 1/8 inch from the edge back stitching at the beginning and end.
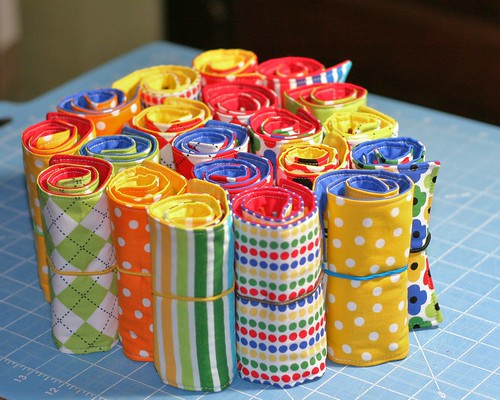
Fill with crayons, roll it up and enjoy!
If you have any questions just leave a comment and I will edit the post with the answer and email you. I would also love to see what you make! If you make one, or anything inspired by this blog, please post photos in my Flickr group!
Thanks for reading!
Christine
3 comments:
Cute roll up and great tutorial Christine! happy blogiversary!
Thanks for sharing this! I made it as I read your blog and I’m so grateful you shared it with us. :D
Hi…love your crayon roll…so simple and very colorful. I have one question…when I made mine it was nice and flat after turning and ironing. Once i put the crayons in the pockets the roll seems to pull and not lay flat as some Ive seen. Can you tell me what I am doing wrong? Why does mine curl up once the crayons are put into the pockets?
Thanks…Kathleen
ORAVITZ240@comcast.net
Post a Comment