
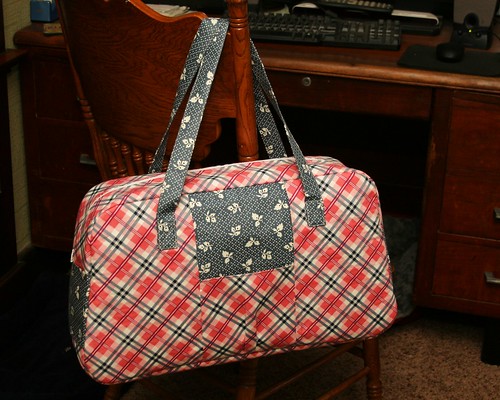
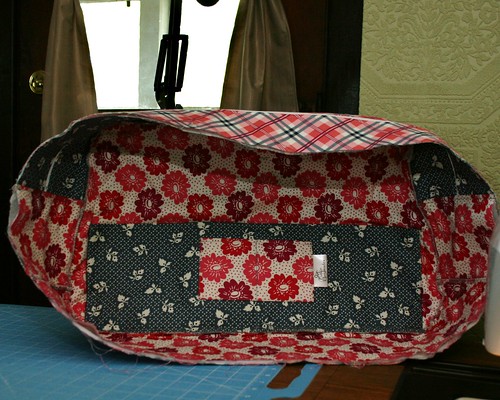
I was browsing through my Pinterest boards the other day and came across this cute Retro Travel Bag, perfect for my upcoming trip. I was suddenly inspired to sew! It was nice feeling that way again...I think maybe the idea of having something to blog about was also giving me a little push.
Every
piece of fabric except the two large lining pieces has heavy interfacing
attached. The outer front and back as well as the large interior pieces and the
bottom section all have fusible fleece. This baby is nice and sturdy! I also
quilted the outer front, back and bottom pieces to keep everything together.
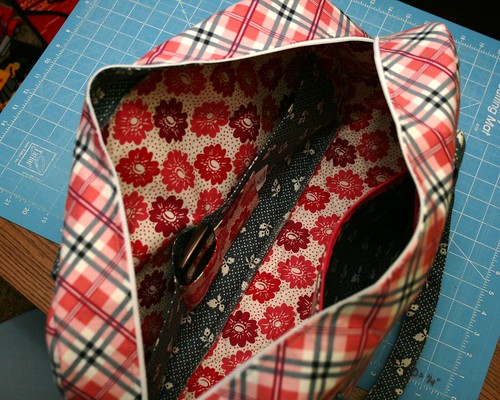
When it came to attaching the front and back to the side piece I threw the tutorial out the window. Good idea? Maybe, maybe not. To be honest there isn't a lot of visual detail when it comes to attaching the lining so I was a little confused. So instead of trying to figure it out I just came up with my own way.
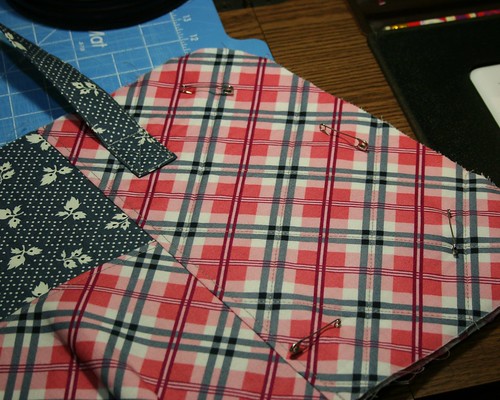
My way of assembly left exposed raw edges and I had every intention to cover them with bias tape, but after realizing the thickness and struggling a bit to get it through my maching I decided to skip it. So I went back and zigzag stitched over the edges to stop any fraying that would occur, if I had a serger I would have used that. I'm pretty happy with how it turned out.
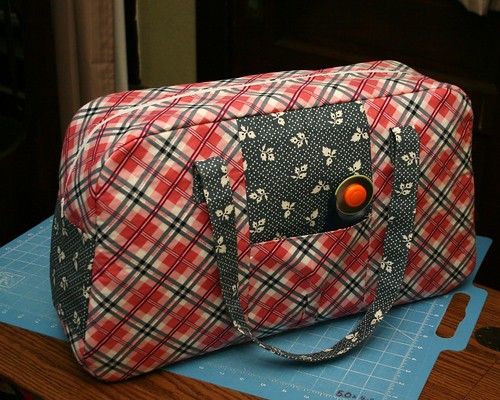
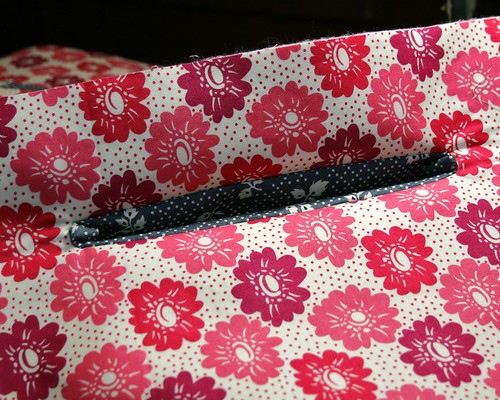
I added a bunch of pockets on the inside because I love pockets; they help keep me a little more organized. On the front side I added some simple pockets using the same method I used for my Pleated Clutch. I put in a large pocket that runs almost the length of the bag and centered a smaller one right on top of it. Then I stitched right up the center to divide them.
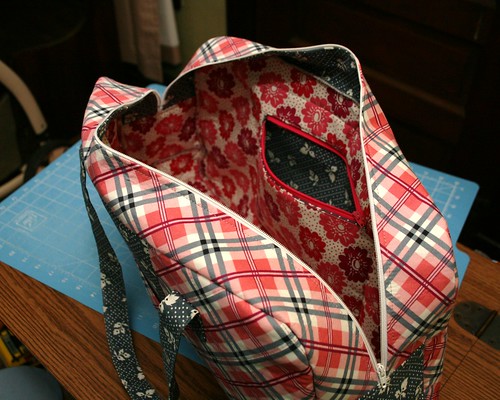
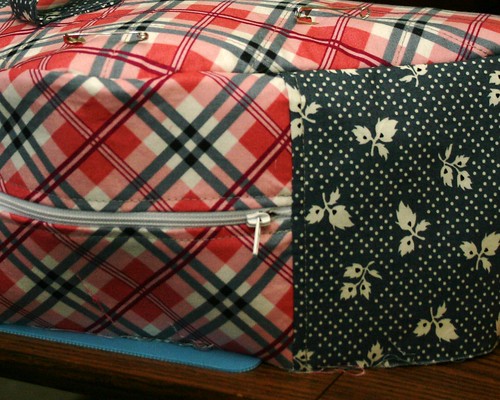
On the back side I added a zip pocket. This was SO easy! I thought this was a much more difficult process, but it's not. I followed this tutorial. Here are a few photos to show you just how easy it is!
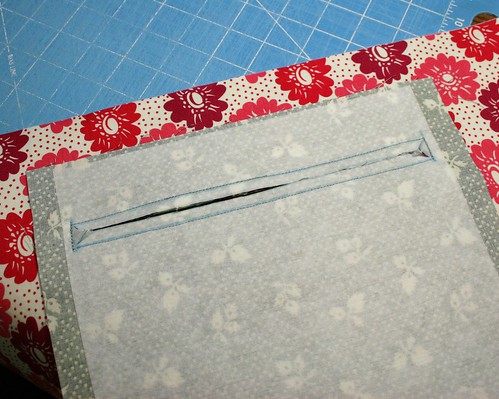
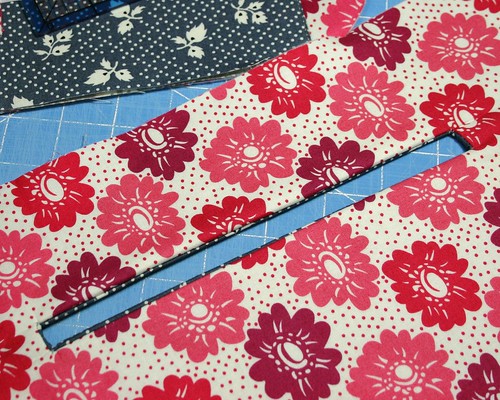
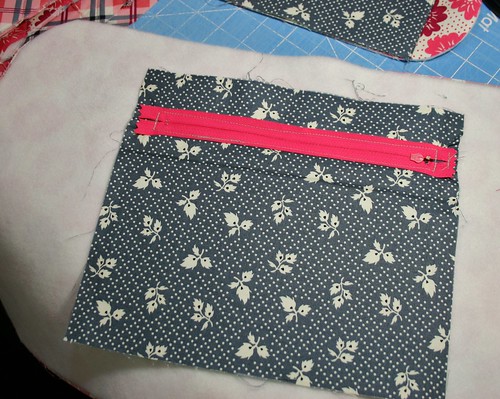
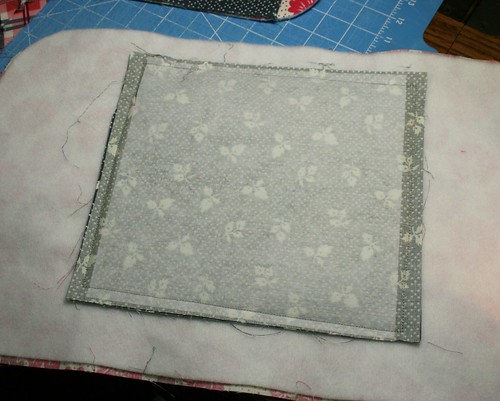
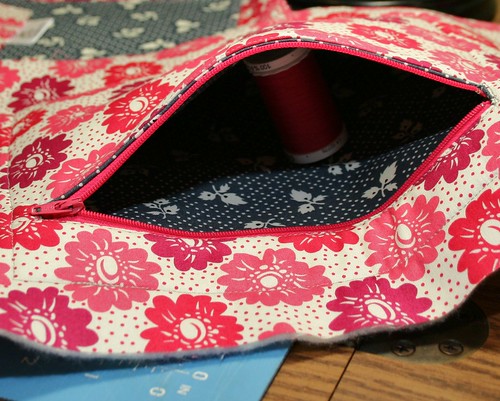
Simple!
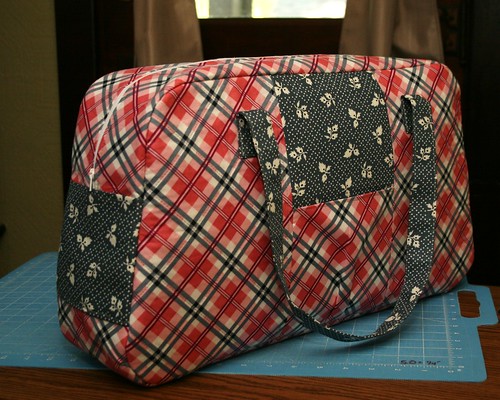
And there you have it! My new Retro Travel Bag ready for its first trip. I can't wait to pack this baby full. I think it will be perfect for my hand stitching projects, MP3 player, snacks and small toys for Riley on the long trip! Big enough to hold it all yet slim enough to fit in between the seats and not take up much room. I love making bags and I'm sure this will be one that gets plenty of use!
Christine
4 comments:
Sweeet! Well done.
Your bag looks great! I would love to make something like this if I ever find the time :)
Your bag is adorable! Would love to make one, but what skill level does it require? I am not sure if my skills are as good as yours. Thanks
To Anonymous: It really wasn't diffcult until it came to attaching the front and back to the center "ring" which is probably why I made up my own (not better) way of doing it. I don't think I would recommend attempting this bag if you haven't made any other bags and I would say you need a decent amount of skill and knowledge. Hope that helps! Thanks for commenting!
Post a Comment