Thursday, May 31, 2012

1st Bloggerversary: A Crayon Roll Tutorial For You!

Its my 1st Bloggerversary! 

I can't believe it's been a year since I decided to dive into the blogging community.  I love being able to share what I have been working on with you and I LOVE the feed back.  I just want to say thank you for reading my ramblings and leaving such wonderful comments, they make my day!

So as a small thank you I am giving you a tutorial.  I love making these little crayon rolls.  They are great for sticking in your purse or the diaper bag and pulling out whenever the kids need a little distraction: in the car, a waiting room, a restaurant, etc.  They also make wonderful gifts or party favors!
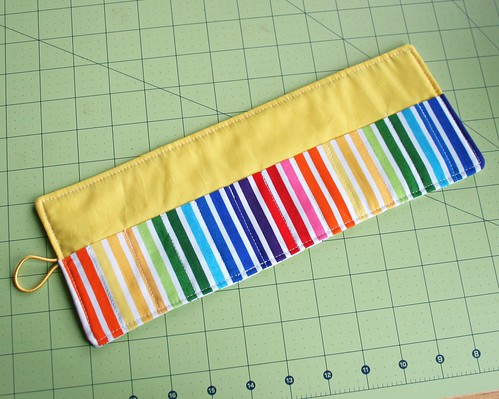
Crayon Roll Tutorial

What you will need:
1 outer piece - 12.5 x 5 inches
1 inner piece - 12.5 x 5 inches
1 pocket piece - 12.5 x 5.5 inches
1 piece of batting - 12.5 x 5 inches
1 hair tie
matching thread
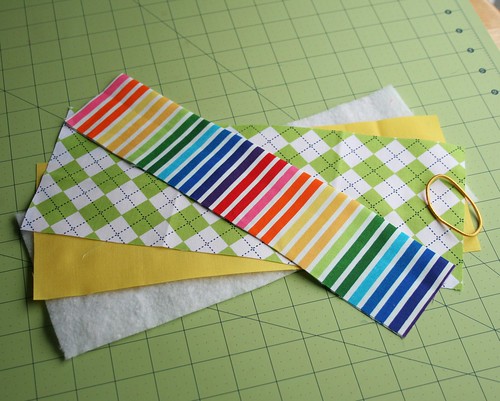
Crayon Roll Tutorial

Start by folding the pocket piece (shown in the stripe fabric) long ways like a hot dog bun and press.
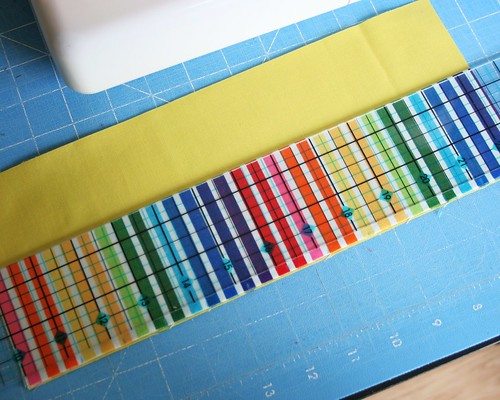
Crayon Roll Tutorial

Using a water soluble pencil mark the center of the long edge of the pocket piece on both top (the folded edge) and bottom (where the raw edges meet).  Then place a mark every inch from the center to the edge on each side of the center mark.  Only make five marks on each side for a total of eleven marks.  This will leave you with 1 1/4 inches from the last mark to the edge.  Do this along the top and bottom edge.
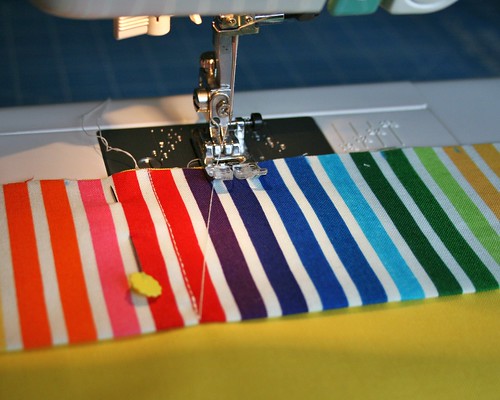
Crayon Roll Tutorial

Once you have all marks made you are going to pin the pocket piece to the lining piece.  Line up the raw edges of the pocket piece with the bottom edge of the lining piece and pin well so it doesn't shift.
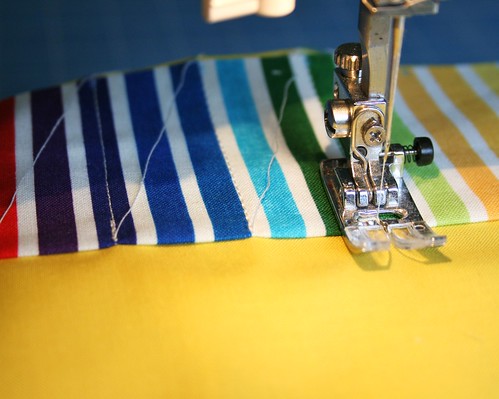
Crayon Roll Tutorial

Starting along the bottom, sew from the bottom edge mark up to the matching top edge mark back stitching a bit at the top making sure to go to the edge, but not over.  This forms the little pockets for the crayons.  

Crayon Roll Tutorial

Continue until all of the marks have been connected, 11 total.  It should look like this (the above photo).  Now the lining is finished and you can set it aside.

Crayon Roll Tutorial

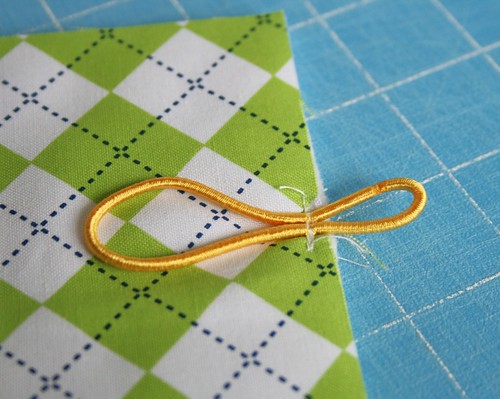
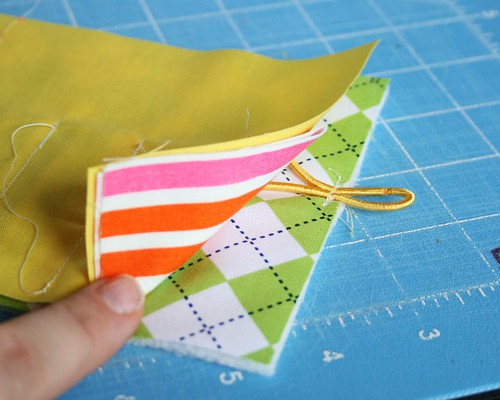
Take your outer piece and place the batting on the wrong side lining up the edges.  Attach the hair tie to one of the shorter edges (I like to place mine on the right edge when I am looking at it) leaving the majority, about 2/3 to 3/4, of the hair tie on the fabric with the shorter portion hanging off the edge.  Using an 1/8 inch allowance sew the hair tie on back stitching 3 or 4 times making sure it is nice and secure. 
Crayon Roll Tutorial

Now place you inner and outer sections right sides together.

Crayon Roll Tutorial

Pin the layers together making sure nothing will shift.
Crayon Roll Tutorial

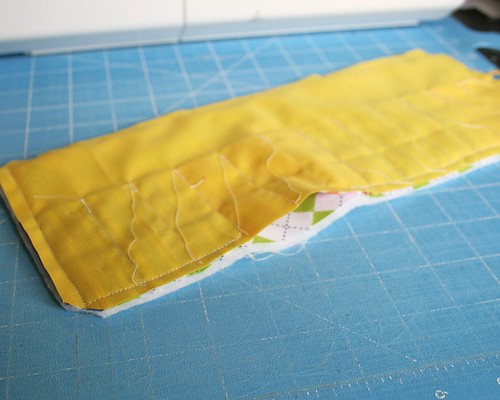
Staring along the bottom sew around the edges leaving a small opening for turning.  Be sure to back stitch at the beginning and end.  Clip the corners and turn, making sure to push out the corners.
Crayon Roll Tutorial

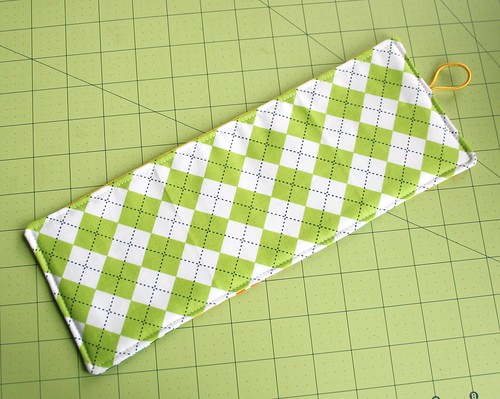
Once turned, top stitch about an 1/8 inch from the edge back stitching at the beginning and end.
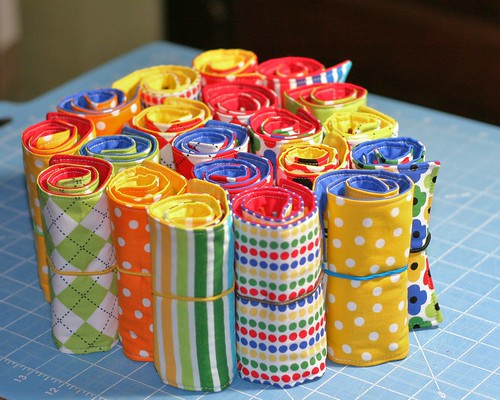
IMG_8733

Fill with crayons, roll it up and enjoy!

If you have any questions just leave a comment and I will edit the post with the answer and email you.  I would also love to see what you make!  If you make one, or anything inspired by this blog, please post photos in my Flickr group!

Thanks for reading!

Christine


Tuesday, May 8, 2012

Baby Quilts

I managed to get four baby quilts done for my craft show a couple weeks ago and I'm just now getting around to sharing them with you all.  Two boy-ish and two girl-ish.  They were quick and easy, just what I needed to get them done for the show!

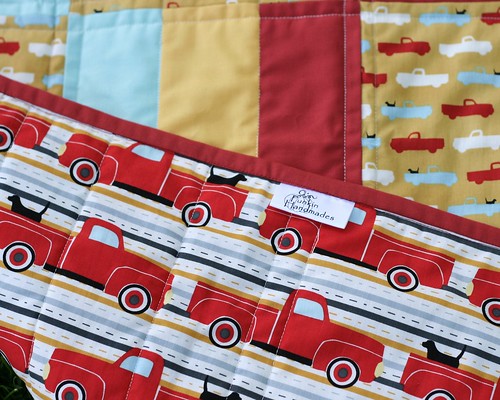
Pooches and Pickups Baby Quilt

For this one I used Kona cottons and these cute truck prints form Pooches and Pickups.  I just did some simple straight line quilting and bound it in Kona cotton.

Pooches and Pickups Baby Quilt

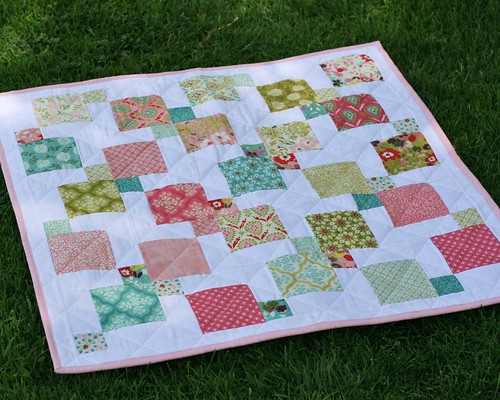
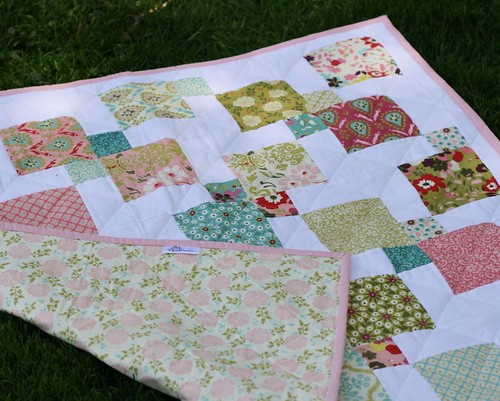
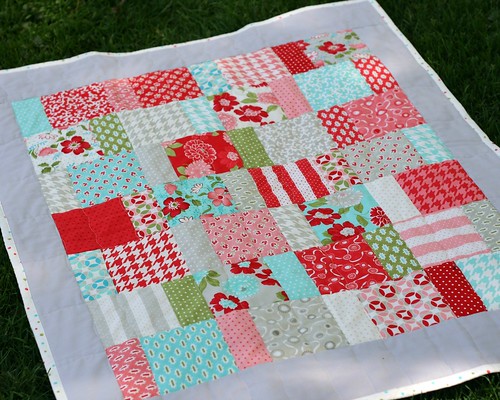
Hello Luscious Baby Quilt

This one is made with Kona cotton in white and a Hello Luscious charm pack with Hello Luscious yardage for the back.  This one is also straight line quilted and bound with Kona Cotton.  I made this one from start to finish the day before the show!

Hello Luscious Baby Quilt

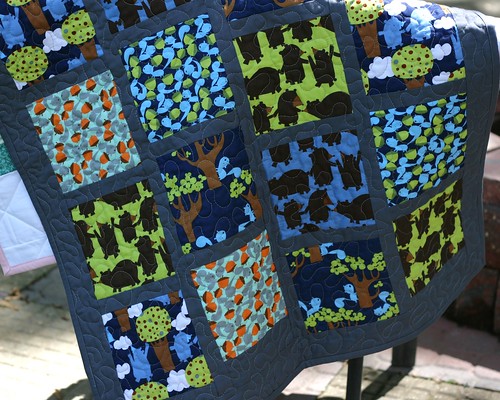
Get Together Baby Quilt

This was the first one I pieced.  It's made with more Kona Cotton (pretty much the only solid I work with) and selected prints from Get Together.  I chose to stipple this one and I was pretty happy with how the quilting turned out.

Get Together Baby Quilt

Vintage Modern Baby Quilt

Then there's this little pretty thing!  I love this quilt.  It is probably just the colors, but I want a throw sized one for myself.  I used Kona Cotton in Ash, a Vintage Modern charm pack and Sherbet Dot from Ruby for the back.  For the quilting I gave wavy lines a try and love the look.  I bound it with a dot fabric from my stash.  I just love the whole thing!

Vintage Modern Baby Quilt

Drummer

And then there is this little guy, he was my shadow while I was photographing these quilts.  Isn't he just soooo cute?!  This is Drummer, my little long haired chihuahua weighing in at six whole pounds.  He is my constant shadow.  Whether I'm sitting at my sewing desk or sitting on the couch, cooking dinner or brushing my teeth he is always at my feet.  In fact, in this very picture he is sitting at my feet!  Oh I just love him so much!

Have a wonderful evening!

Christine

Friday, May 4, 2012

Instagram

Instagram

So I decided to check out Instagram and now I am hooked!

Instagram

Snapping and sharing photos of cool treats...

Instagram

On hot sweaty days!

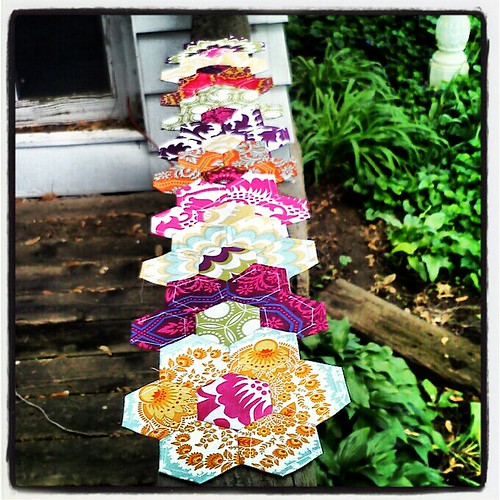
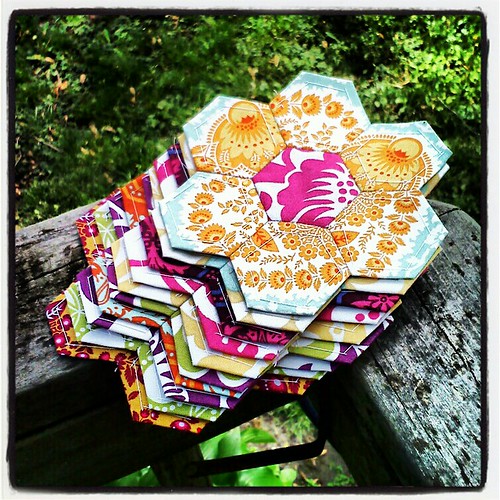
Hexy flowers for Hexy MF look-a-like quilt!

Being able to capture and instantly share what I am currently working on.  It's great!

Hexy flowers for Hexy MF look-a-like quilt!

And it's fun to play with the photo effects!

If you would like to follow me I'm christink35 on Instagram.

Check it out!

Christine

Thursday, April 26, 2012

Ladie's Day Out Expo

Our show last weekend was a huge bust!  Very poor promoting and management!  It was so unbelievably disappointing that I really don't want to get into it.

However, we had a wonderful dinner Saturday night.  We went to The Olive Garden and had a couple drinks and some wonderful food and then took dessert back to our hotel.  It was nice having a child free meal, a child free weekend!

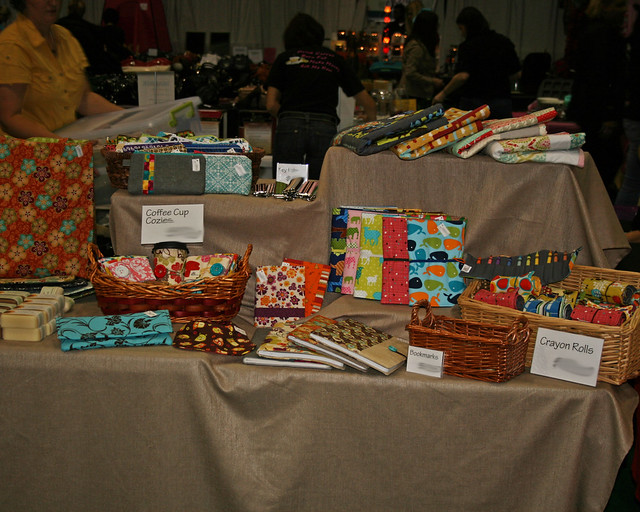
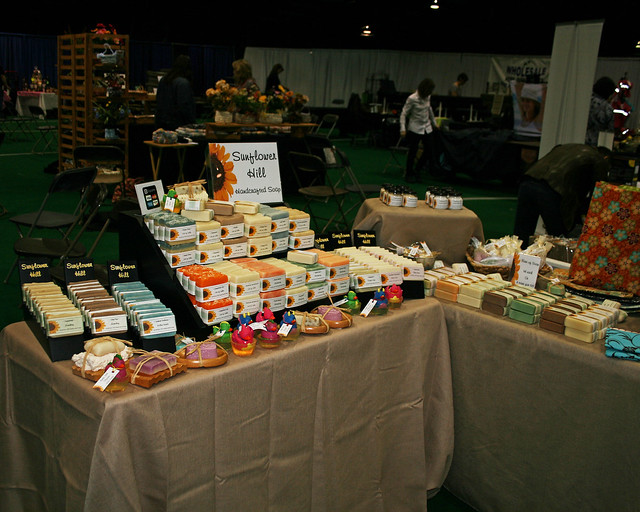
Here are some photos of our set up:

Ladie's Day Out Expo

Ladie's Day Out Expo

Ladie's Day Out Expo

The soaps you see there are made by my friend, C, who I do the shows with.  They are wonderful for your skin and smell so good!  The most recent one I have smells like chai tea, mmmm.

We are doing a small, local show on May 12th and are planning on frequenting a couple local farmers markets this summer.  Hopefully we will be able to make up for this past weekend!  We are also looking into other shows, but it is hard to know where we will do well.  I guess if we don't try we will never know.

Have a great day!

Christine

Thursday, April 19, 2012

Busy Little Bee

Wow, it has been over two months since I last posted!  Things around here have been a little crazy, that's probably an under statement!  We've moved and I've been getting ready for a big craft show.  So yeah, hopefully after this weekend I will get back to posting more frequently.

If any of you are in the Chicago land area my friend and I will have a booth at the Ladies Day Out Expo at The Odeum Expo Center in Villa Park, IL.  It's this weekend, April 21st and 22nd, from 10-6 on Saturday and 10-5 on Sunday.  There will also be a gem and jewelry show and a home remodeling show going on at the same time, under the same roof!  So come out and see me, I would love to meet you in person!

What I've been up to lately (on top of moving!):

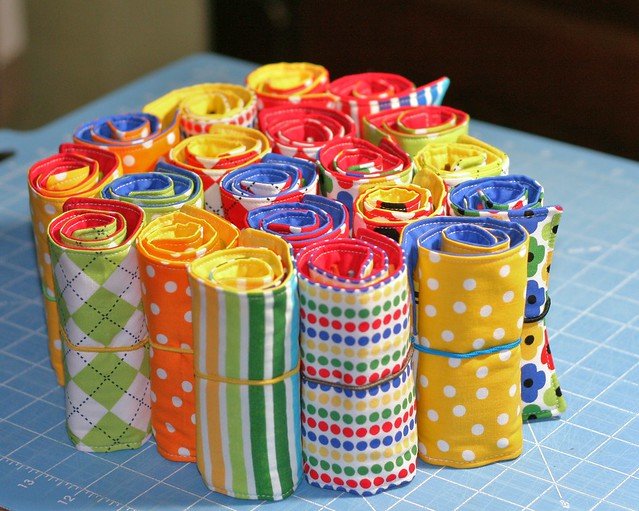
IMG_8733

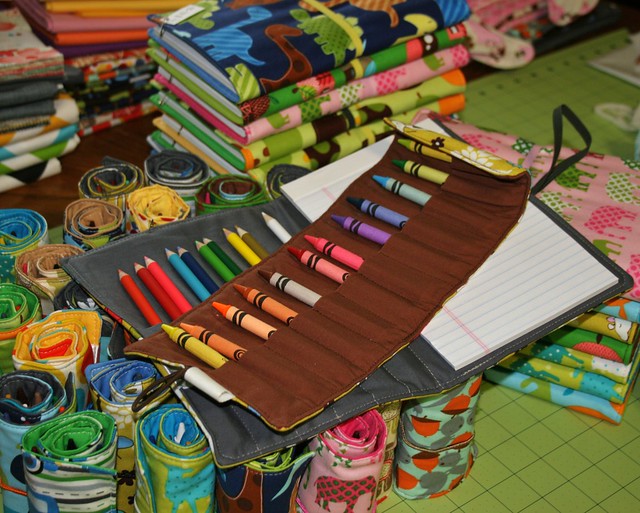
A custom order for 20 crayon rolls!

IMG_9202
Excuse my piles of fabric in the background, I haven't had much time or will to pick up!
IMG_9204

Getting ready for the expo, which includes making:

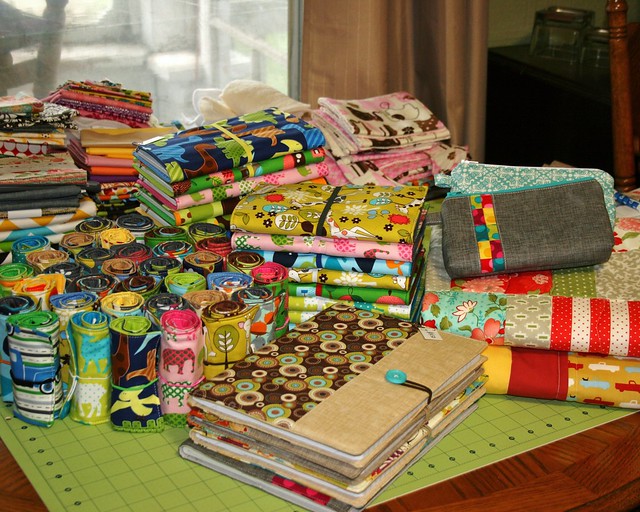
34 crayon rolls
18 drawing/note pads
4 comp. book covers w/ pockets and button closures
3 baby quilts (was shooting for 6, oh well, 1 not pictured)
25 covered button bookmarks (not pictured)
10 pouches (not all pictured)
50 coffee cup cozies (not pictured)

All of that in the past two months, that's a lot for me!

IMG_8917

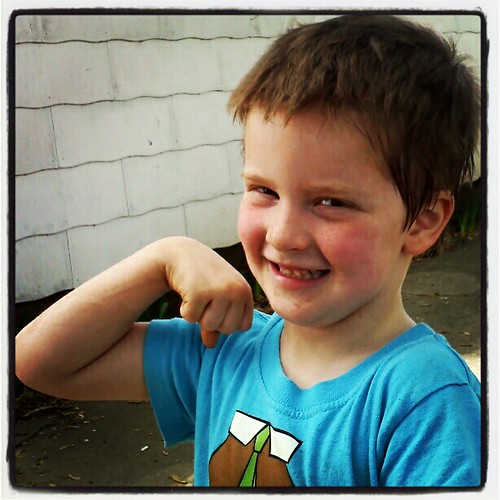
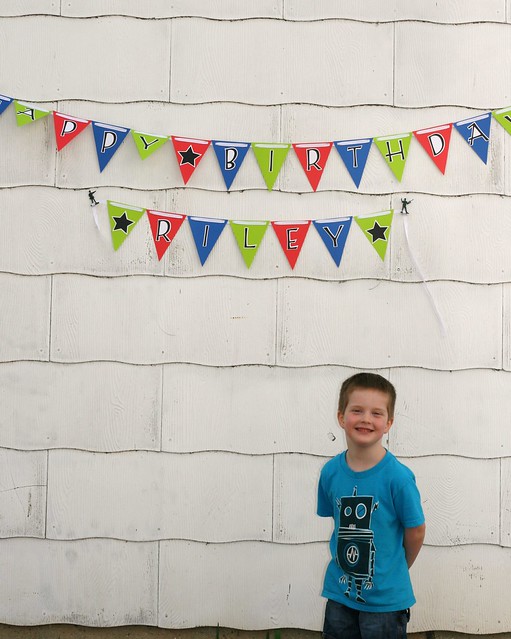
And a BIRTHDAY!  My little man turned 4!  I can not believe he is 4 already.  Where has the time gone?!

Hopefully I'll be back soon!  Until then...

Christine