Tuesday, January 31, 2012

Leftovers

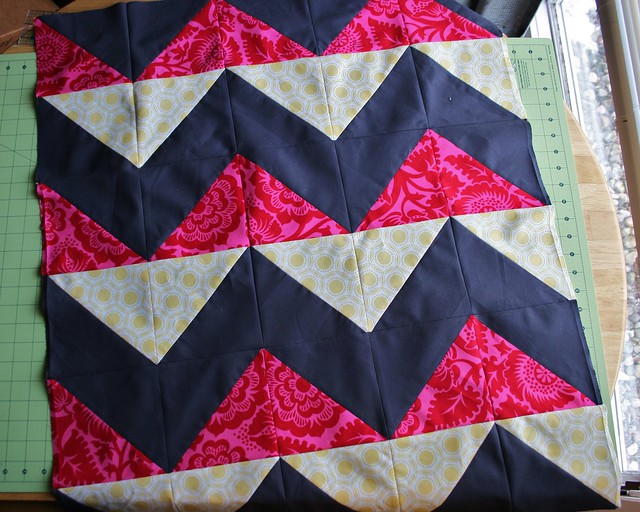
My Giant Swoon left me with 32 nice big triangles.  I've been wanting to make a zig-zag quilt for a while now so I decided to turn these into one.  I ended up cutting them in half to double the HSTs I would have to work with and I came up with this:


Zig-Zag

It measures 28x33 inches.  I haven't decided what else I will do to it, a boarder I'm sure, but I don't know how big.

When doing the math to make my Giant Swoon block I made a stupid mistake when it came to the squares for all of the HSTs.  I ended up cutting them two whole inches too big.  So after sewing all of the squares together and cutting them apart I went through the bunch and cut those two inches off before I opened them up and pressed the seams open.

I should have taken a picture, but this left me with two 2 inch wide strips sewn together at an angle at one end.  I was able to trim a nice little HST off the end that measured 2 inches square and the rest became the boarder for the Giant Swoon block.  So now I had all of the HSTs I would need to make a mini Swoon block!  I just needed to scrounge up the fabric to make the rest of the block ( I had to piece together a couple of the pieces.)  I ended up with this:
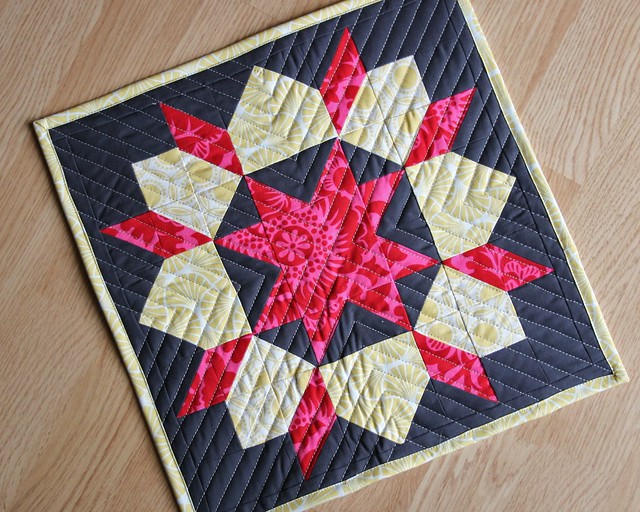

Swoon Mini

My first mini quilt!  I'm pretty happy with it and now I have something to hang up in my sewing area!

Happy sewing!


Christine

Wednesday, January 25, 2012

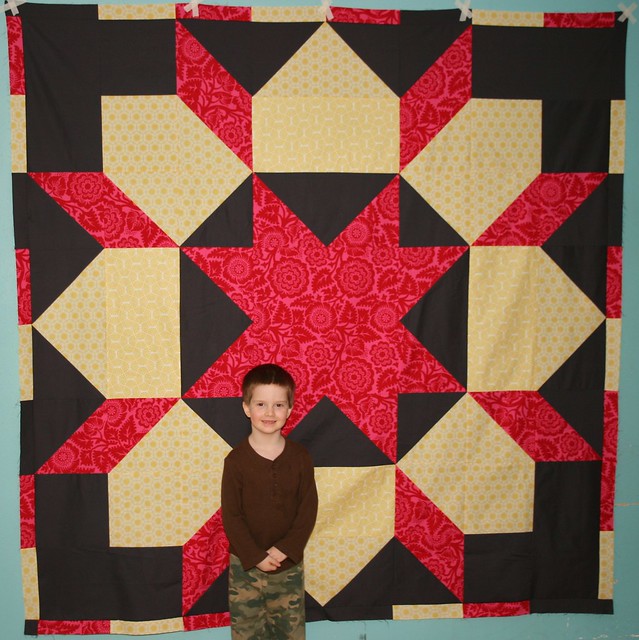
Giant Swoon

Swoon x3


Inspired by this post/quilt, I started this giant swoon block back in October.  I love the idea of making an entire quilt out of one block.  It has just been sitting in three rows since the day I started it.  With all of this Swoon-Along motivation floating around I finally got my butt in gear and finished it up.  I played around a bit with the size and ended making the block three times the original size.  The quilt top measures 75 inches square with the 1.5 inch border.

I had planned on just using solid grey for the boarder, but a mistake with the HSTs left me with a bunch of 2 inch strips that worked out perfectly for the job.  I am in the process of trying to piece the back together out of the fabric I have left over and an additional 2 yard piece of Heirloom I have on hand.  It's gonna be tight.


Swoon x3

I can't wait to get this one finished up.  It will be all mine!  It's not going anywhere.  I love making quilts for others, but I really want one that I can admire and showoff whenever I want.  And when I finish my other swoon quilt I will have two! Yay!

Speaking of which, I have been thinking a lot about the finished size of my regular swoon quilt and I'm a little worried it will be too long for our bed.  Making 16 blocks with 2 inch sashing will finish at 106x106, a king mattress is 80x76.  Plus it only needs it to hang off the end and not the top, it needs to be wider than tall, not square.  So, I'm considering alternate layouts and sashing options.  I saw this quilt the other day in the Swoon-Along Flickr pool.  She made the original 9 block layout and then just sashed 3 sides.  I like this idea, but I kind of want the quilt to be able to stand on its own so only having 3 sides sashed kind of kills that.  So I was thinking of maybe something like this:

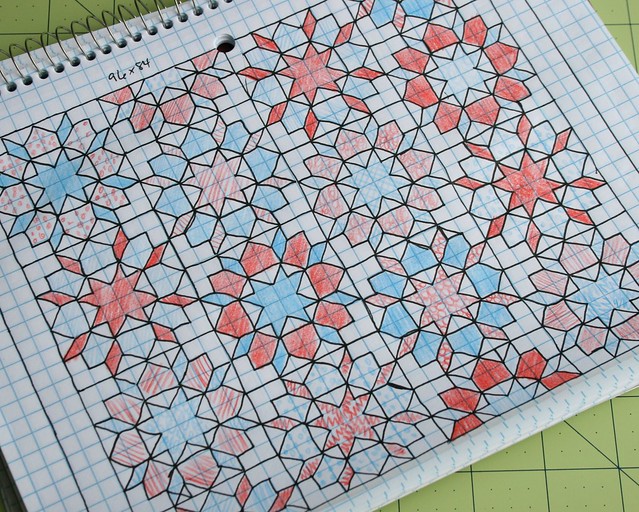
Possible Swoon Layout

Four blocks wide by three and a half blocks long.  By staggering the blocks and using some half blocks it would eliminate having one row of just half blocks.  It would also be able to stand alone as just a large quilt.  I love the look of the drawing without sashing, but it would finish at 96x84 and I would like it to have a 12 inch drop so it needs to finish at 104x88 (and that doesn't account for shrinkage.)  So I am thinking about adding 1 inch (finished) sashing between the blocks with 2 inches on the top and bottom and 4 or 5 inches on the sides.  That should make it big enough. 

We will see...I like to change my mind.


Christine

Monday, January 23, 2012

Just Wing It Baby Quilt


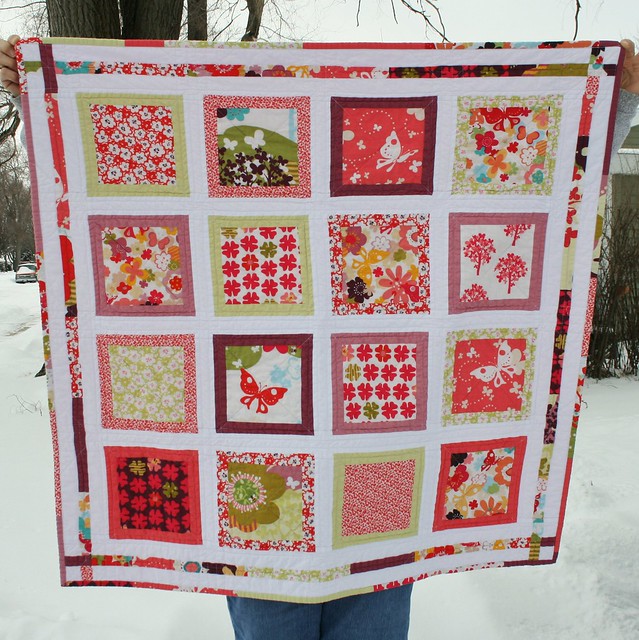
Just Wing It Baby Quilt 

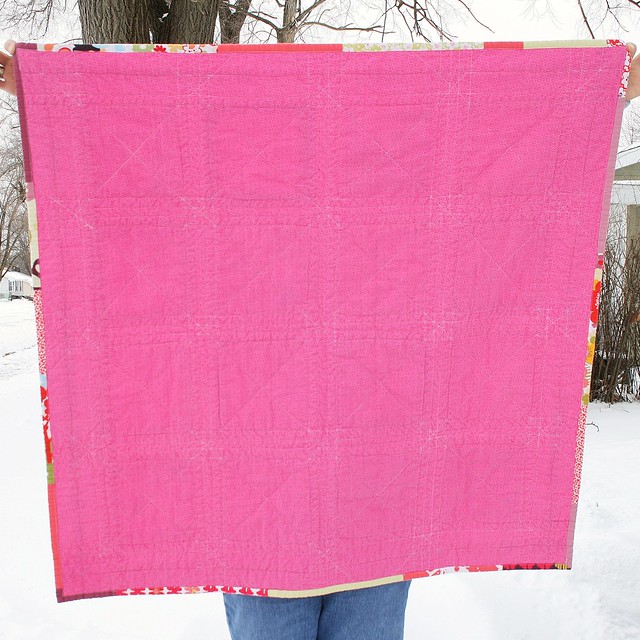
Just Wing It Baby Quilt

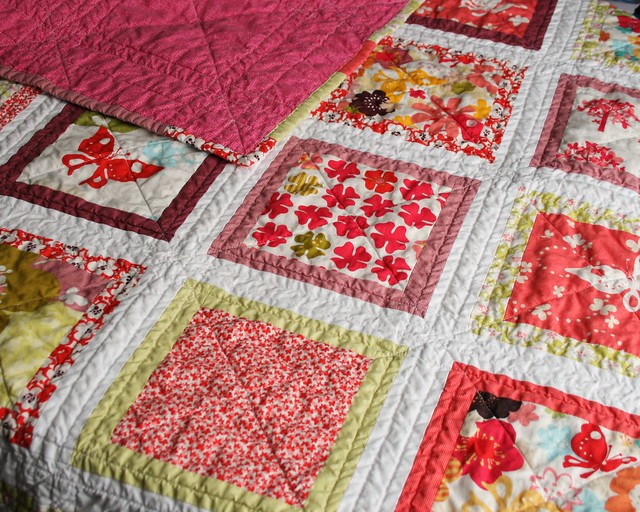
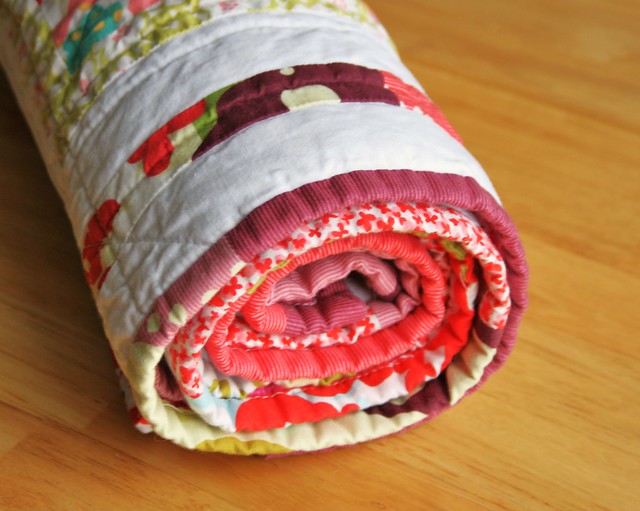
Even though I was unhappy with how the quilting went, I am pretty happy with how it came out of the dryer.  It's nice and crinkly and most of the quilting imperfections aren't very noticeable.

Just Wing It Baby Quilt

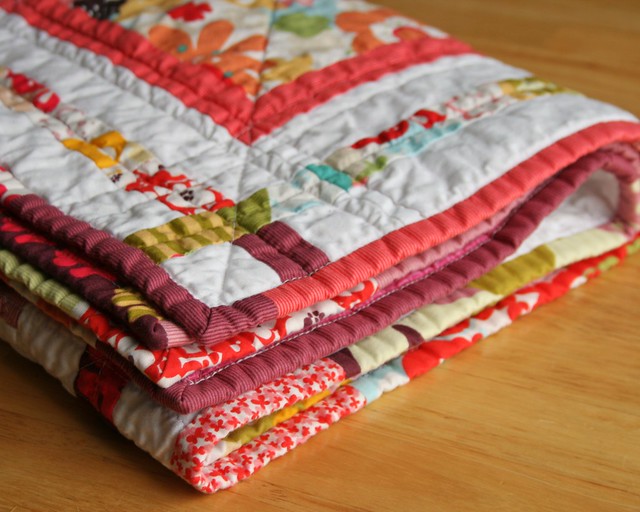
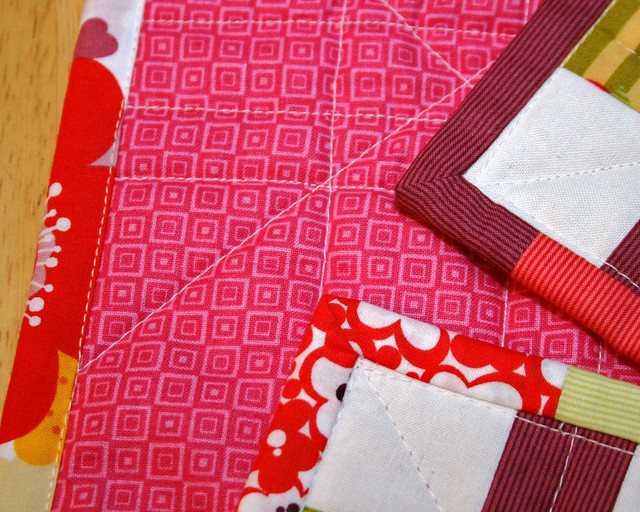
As stated in my last post I'm thrilled with the binding!  I can't wait until I bind my next quilt.
 Just Wing It Baby Quilt

As we speak this quilt is on it's way to California where it will wait to snuggle the newest baby in the family who will be here by the end of the week.
 Just Wing It Baby Quilt

I love making baby quilts, but they make me want to have another baby so I can make one to keep!  Someday...

{Sew} Modern Monday at Canoe Ridge Creations


I am linking up with {Sew} Modern Monday for the first time!

Thanks for reading!

Christine

Sunday, January 22, 2012

Binding Bliss

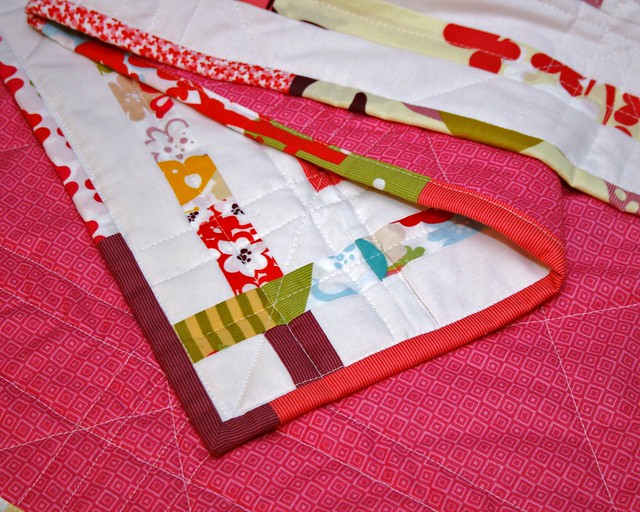
So far I have machine bound all of the quilts I have made and all but one mug rug.  I liked how the binding turned out on the mug rug where I hand stitched it using the ladder stitch, but I don't have the patience to do quilts that way.  Up until the other day I have always tried to line up the binding front and back so it top stitched on both sides nice and pretty.  I always failed miserably!  It would look nice from the front, but not so great from the back with the stitching only on the binding some of the time.

Just Wing It Baby Quilt


On this last quilt I made I went with a scrappy binding mostly out of necessity (I didn't have any additional yardage) and most of my scraps were ending up at 2 and 7/8 so I just ran with it, I usually cut my binding a 2 and 1/2.  I also used a larger seam allowance, 3/8 instead of 1/4.  I meant to attach it to the back first and top stitch from the front, but managed to get it completely attached to the front before I even realized my mistake.  Oh well, it is what it is!  When I top stitched it to the back it extended past the stitch line from the front (does any of this make sense?).  I stitched it right on the edge of the binding and on the front it just left a nice straight line that looked like it could have been part of the quilting.  Ideally it would have been on the back, but again, oh well.

Anyway, to sum it up, I have never been happier with the binding on anything that I have done than I am with this one!

Just Wing It Baby Quilt
I will post photos of the finished quilt tomorrow.  Until then...

Christine

Friday, January 20, 2012

Snow Day


I guess winter is finally here for those of us here in the Midwest, two snow storms within a week of each other would probably say so.  It's been snowing all day and it is really piling up out there.  Riley has been talking nonstop about making a snow man so maybe tomorrow if it's a bit warmer than today we will tackle that project!  I can't remember the last time I made a snow man.


I have my Just Wing It baby quilt basted and about halfway quilted.  I have to say I am terribly disappointed with how the quilting is going.  I think it as to do with how I basted it, but I am getting a lot of puckering on the top!  I don't think I had the top as taught as the backing so once I started quilting the side to side lines (after already doing the top to bottom lines) there is more fabric on the top than on the back and it is folding over the perpendicular lines that have already been quilted. 

I hate to say it, but I am far too lazy to go back and unpick all the the quilting I have already done.  The puckers are pretty small and I think they wont be so bad after a wash and dry...I hope!  I should have it in the wash tonight so I guess we will see...


Christine